Connect Spryker Code Upgrader to a project self-hosted with GitLab
Edit on GitHubTo connect the Spryker Code Upgrader manually using a Gitlab CE/EE access token, take the following steps.
Prerequisites
The GitLab access token should have the following repository permissions:
-
api for Spryker CI: grants complete read and write access to the scoped project API, including the Package Registry.
-
write_repository for Spryker Upgrader Service: grants read and write access to the repository to enable the Upgrader to analyze the project and create PRs.
Configure the connection in Spryker CI
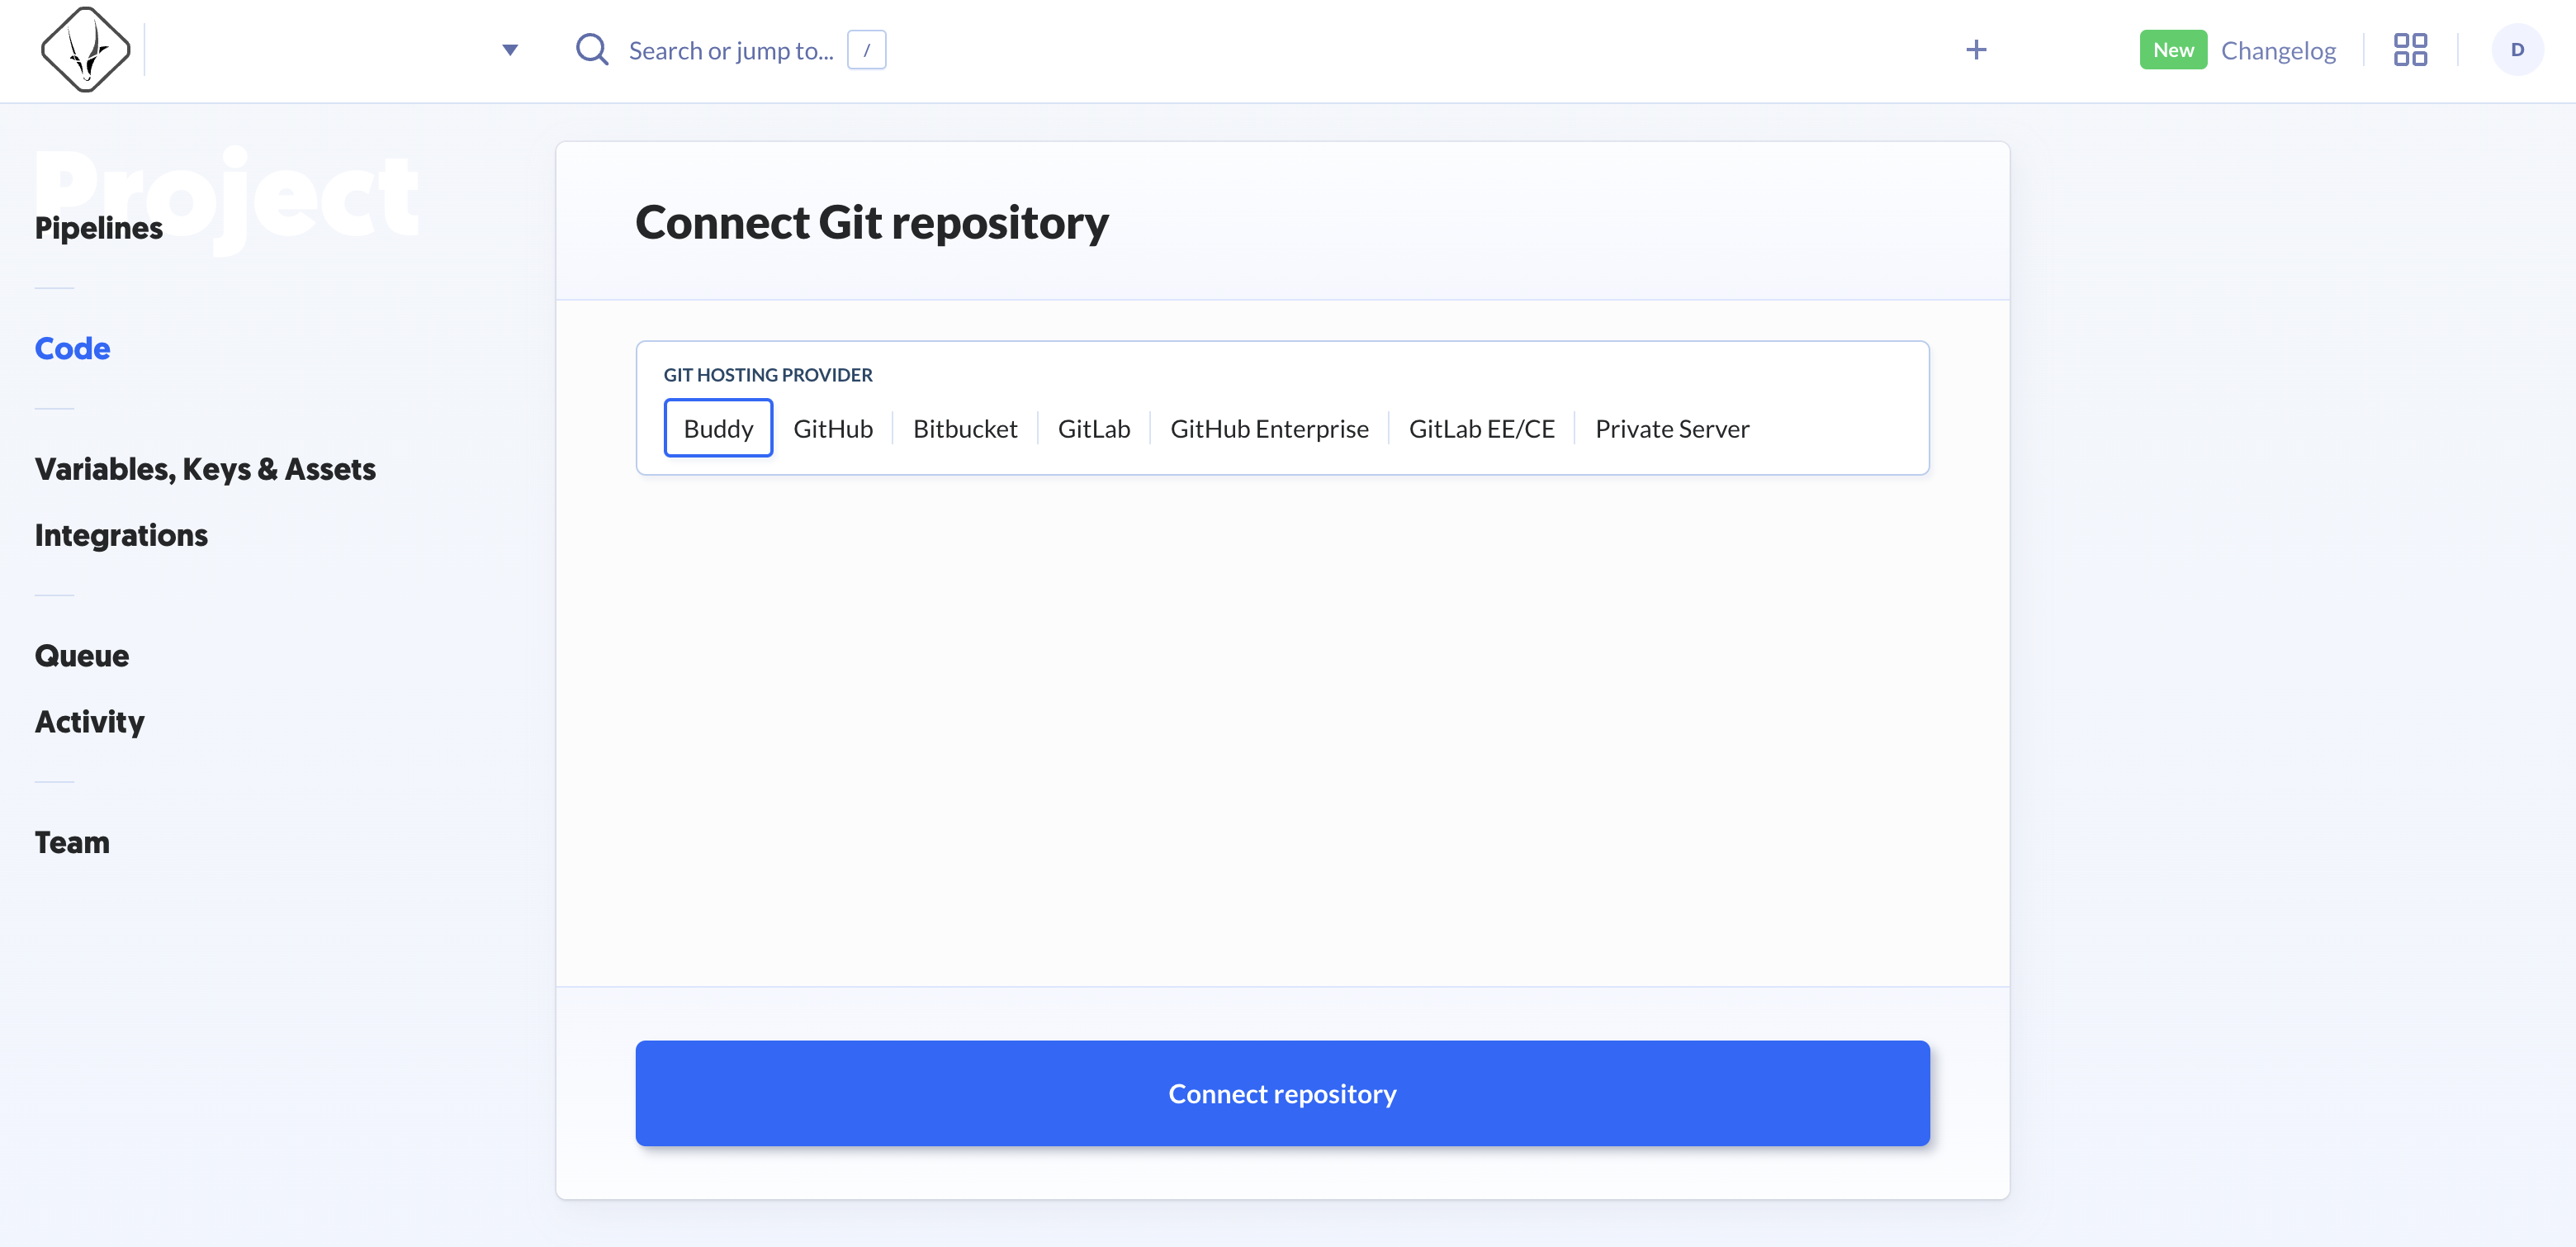
- In the Upgrader UI, go to Projects.
- On the Projects page, select the Spryker Upgrade Service project.

- Go to Code.
-
In the Connect Git repository pane, for GIT HOSTING PROVIDER, select GitLab EE/CE.
-
For ADD GITLAB EE/CE INTEGRATION select +.
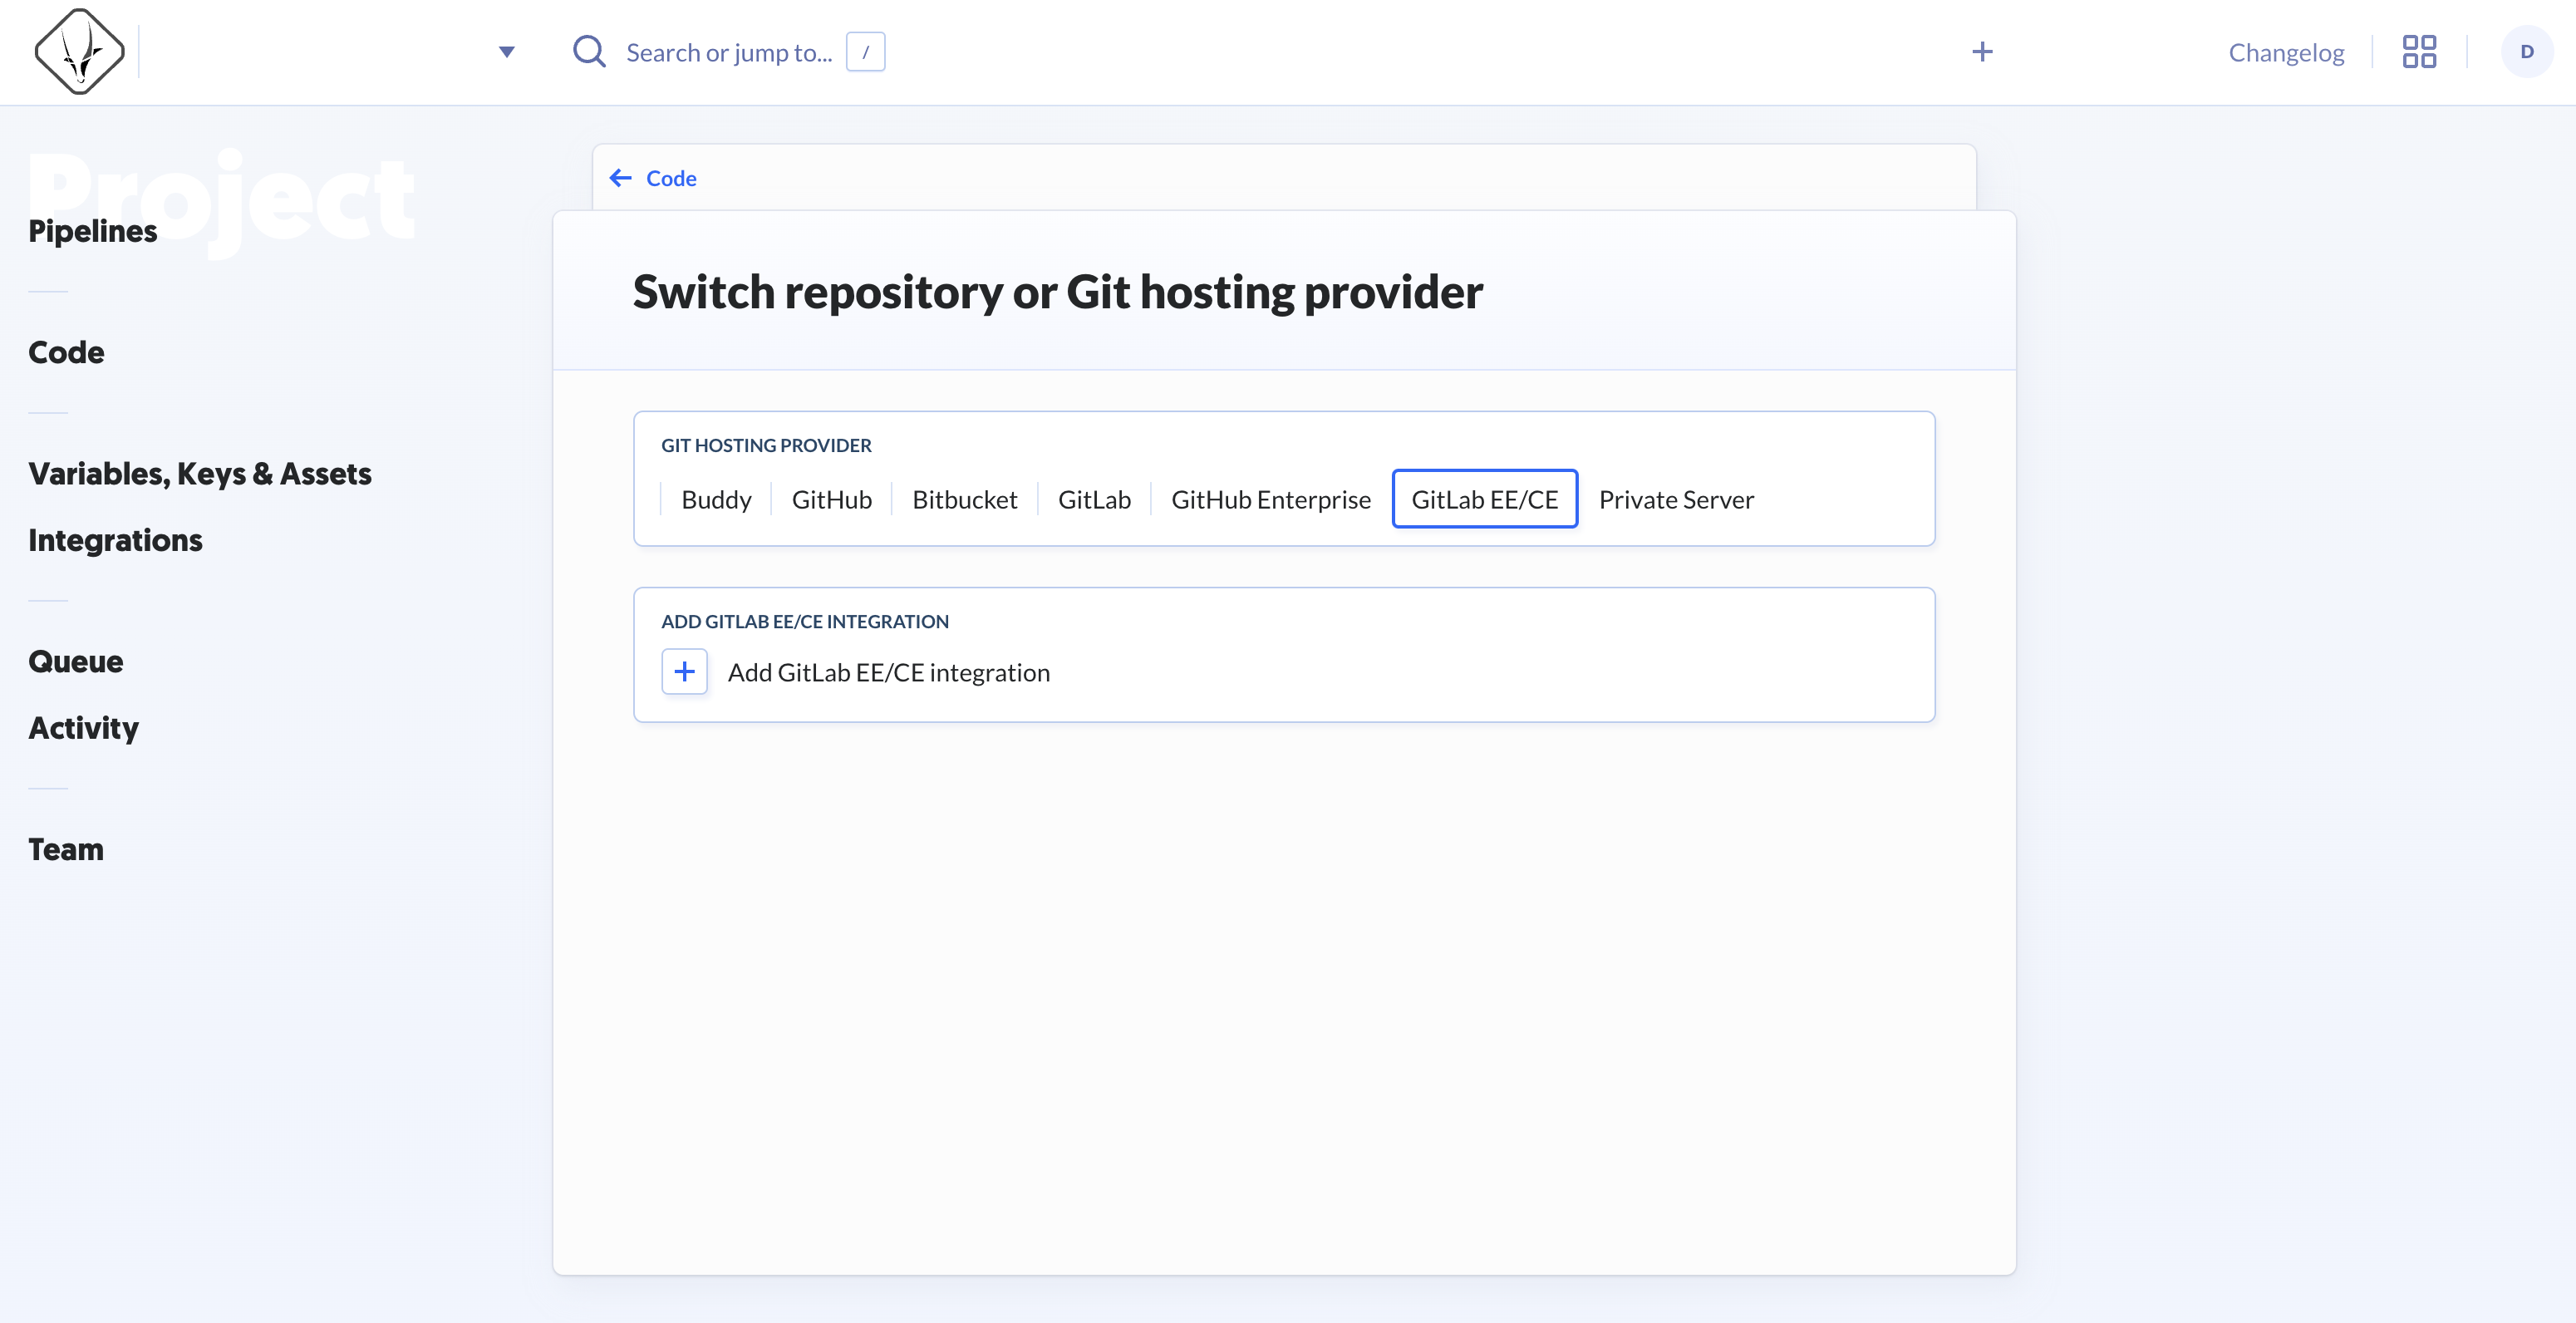
- On the Add new GitLab EE/CE integration page, enter a NAME.
- Select SHARING and AVAILABILITY per your requirements.
- For GITLAB ENTERPRISE IP OR URL, enter your GitLab host.
- For PERSONAL ACCESS TOKEN, enter the GitLab access token.

-
Click New integration. This connects the Upgrader to your GitLab organization and opens the Switch repository or Git hosting provider page.
-
For GROUP, select the GitLab group that has access to the repository you want to connect.
-
For REPOSITORY, select the repository you want to connect. This displays a success message. The Upgrader is now connected to your repository.

Next steps
Thank you!
For submitting the form